I found a delicious recipe for ice cream made from a glut of berries over at mudandbloom.com recently and made it when my eldest and their partner came for tea - vegan and super quick! Here Denise Hope, home educating mum of two shares her recipe
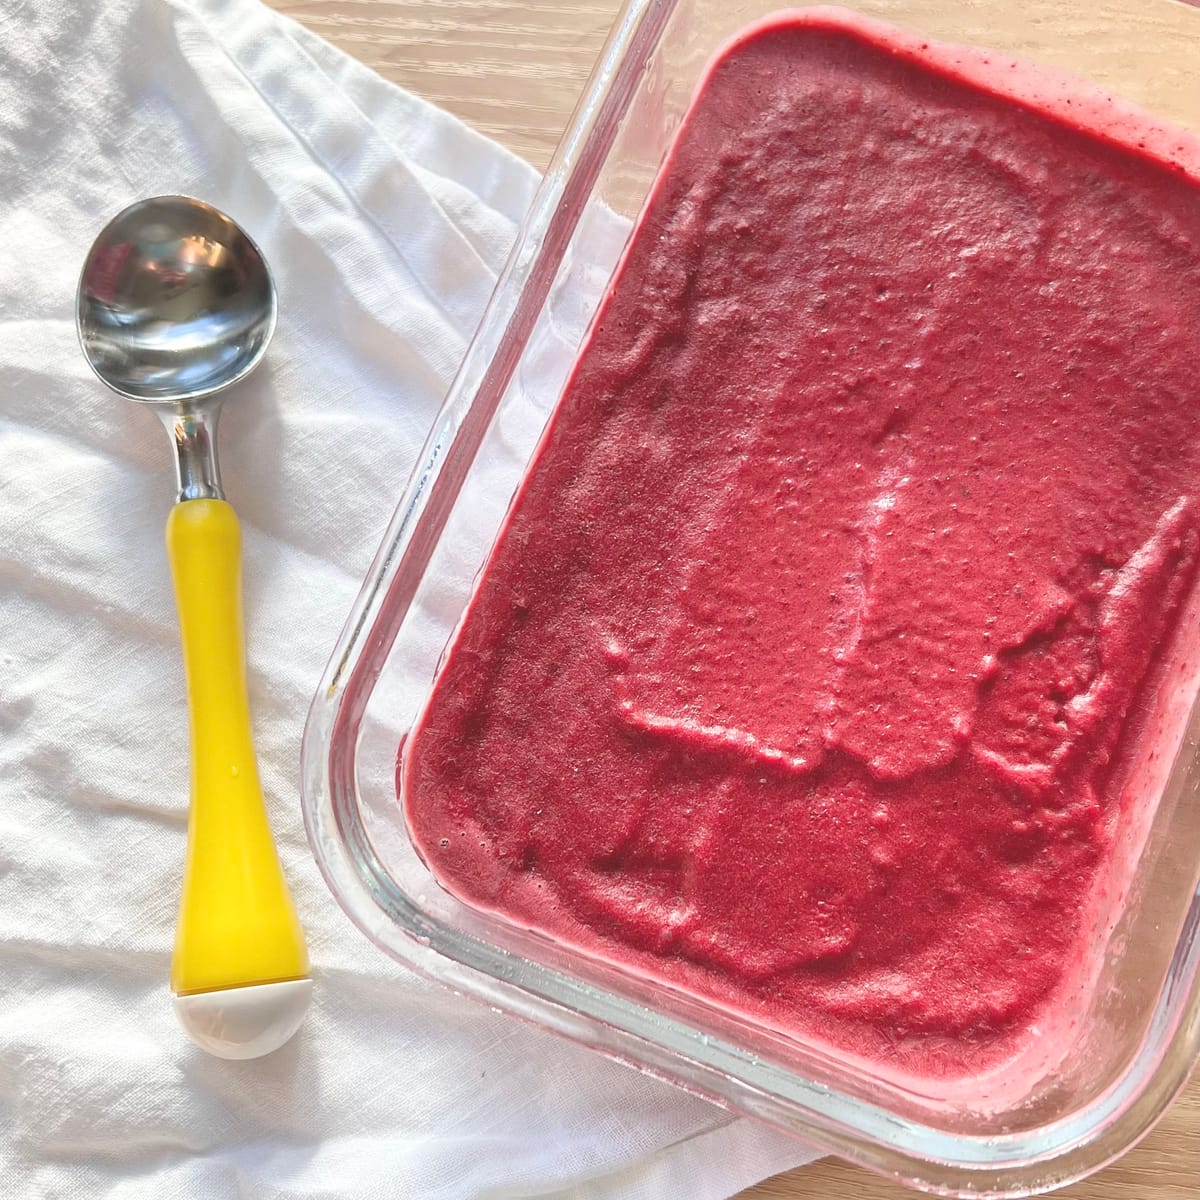
I very rarely actually make anything with the blackberries as I tend to eat them straight off the bush, picking a few here and there on my dog walks and any I collect with my children always seem to get eaten on the way home! However, this year I really wanted to make blackberry ice cream. I’ve have always been put off by how complicated and time-intensive ice cream-making seemed, so I decided to have a go at making a super-simplified version. The result is a blackberry ice cream that is really easy and quick to make and so, so tasty with a really intense blackberry flavour!
What you need to do:
First you will need to gather your blackberries! Wear longs sleeves and trousers if you can as blackberry bushes, or brambles, are very prickly.
Blackberry bushes, or brambles, are found in most hedgerows, mixed woodland, verges and waste ground. Blackberries are typically ripe in late summer, however, you might find blackberries in one area are unripe, but close by they are glossy black and juicy so don’t be disheartened if the first blackberries you come across are not ripe yet.
Avoid bushes by busy roads or any fruit that are close to the ground where people walk dogs!
When blackberries are ripe and ready to pick, they will be black all over and you will be able to gentle pull them away from the plant. Watch out for the thorns though!
Use shallow containers to collect your blackberries - if you stack lots of berries on top of each other or they'll bruise and squash before you get them home. Once home, pour them gently into a bowl of cool water and soak for 5 minutes to clean them.
As this recipe cuts out a few steps used in traditional ice cream making which help prevent large ice-crystals forming, such as simmering the blackberries to reduce the water content and churning the ice cream, then it’s a good idea to start with cold ingredients to reduce the freezing time which also helps to prevent large ice-crystals forming.
So put your can of coconut milk and your ice cream container in the fridge overnight if you can, or at least for a few hours. Also, use frozen bananas rather than fresh. The easiest way to freeze bananas is to peel and slice them and pop them on a baking tray in the freezer, after which you can transfer to a container to store for when needed. This is a great way to use over-ripe bananas when you know you won’t have a chance to use them (the banana loaf that never was!).
The next step is the easiest bit: put all the ingredients into a blender or food processor and blend until smooth! Pour the mixture into your cold container and place in the freezer for a couple of hours until it hardens up.
Both me and my two boys love this ice cream! The coconut milk and banana make it nice and creamy and, surprisingly, without tasting of banana or coconut. The blackberry flavour is so intense and fresh. Admittedly, it isn’t as smooth as ice-cream you’d buy in a shop but the flavour is definitely better than any blackberry ice cream I’ve bought before - we will definitely be making our own blackberry ice cream again!

What You Need:
- Blackberries (2 cups)
- Chopped & frozen ripe/over-ripe bananas (3)
- Coconut milk (full-fat, not light) (1 can)
- Vanilla extract (1 teaspoon)
- Maple syrup (1 tablespoon)
- Blender or food processor
- Container to store your ice cream
How to Make Blackberry Ice-Cream
Pop everything into a blender and blend until super smooth.
Pour the slush into a container and put in the freezer for a few hours to harden up.


